


How To Make A Clay Mation Film
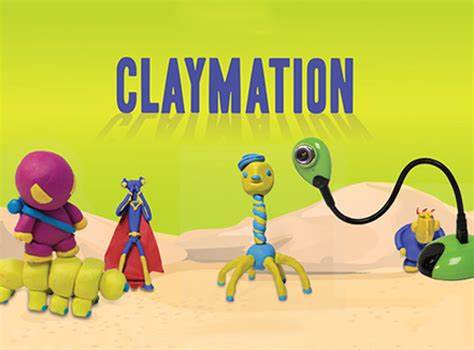
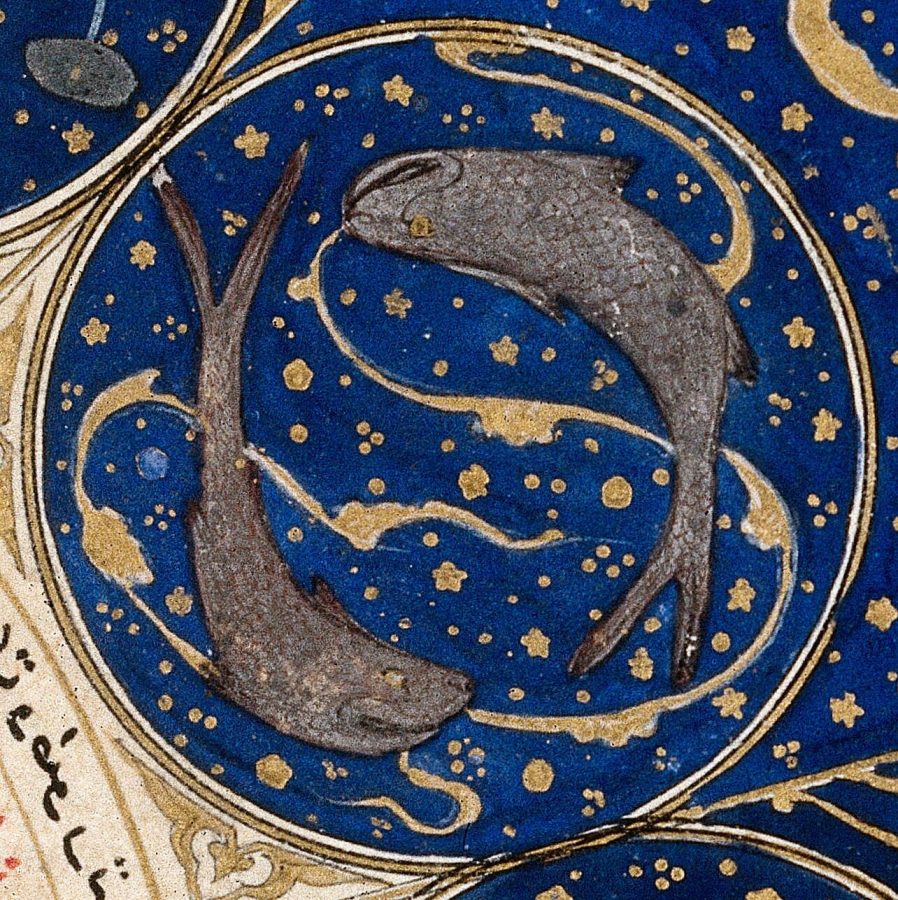
Main image for article
It isn’t easy to make a claymation film, in fact, it can take years to make an hour-long film. Not trying to scare you off but just informing you that once you start, you are in for hours of work. Well, then again, it mainly just depends on what you’re making.
Claymation is a stop-motion animation where practically everything can be made out of clay or any malleable material. In films, they move the characters/setting little by little to catch each frame, putting it all together in the end. The smoothness of the film depends on how little they move the character/background.
Spotlights
Claymation has been around for a while and has evolved so much over time. Nowadays, it can be hard to notice if something is a claymation film. Before we get into the process of making claymation, I want to spotlight some claymation films/shows made in the 1900s.
One of the first films to use claymation was The Sculptor’s Nightmare in 1908. The Sculptor’s Nightmare is a short film that contains a mixture of live action and claymation. This short film features members of a political club having an argument about who will replace Theodore Roosevelt as president.
Another short film that uses claymation is Long Live the Bull by Joseph Sunn. This film takes you through a story of a man fighting a bull to try to win the love of a lady he has fallen for.
One of the first claymation television shows is Gumby. Gumby takes you through the adventures of the main character, Gumby, who is a human-like figure made out of bright green clay.
The last TV show I will cover is one called Pingu. This show has a penguin, Pingu, as the main character featuring his family members. Its first episode was released on May 28, 1986. Pingu is known to be mischievous, clumsy, and cheeky.
Process
Now after all those spotlights, let’s get into the actual process of making a short film. Your film can last as long as you want to make it, but just make sure you have the right materials! The thing you need to make sure to have is clay. Clay is basically the most important component since everything will be made out of it if you choose to go down that path.
Clay is one of the important parts of this process but there are many things you still need to gather. If you plan on making figures, I suggest making the character with lots of clay just so it can support itself. I will have a video linked down below that will walk you through the process of making a human-like figure.
As for the setup, you want to make sure you know what you’re doing. Having a storyline or picture in your head of what you want your figure/objects to be doing is key. Also, plan out what your background will look like. It doesn’t have to be made out of clay, it can just be as simple as white or any colored paper.
Lighting is another important component. Make sure your lighting isn’t natural lighting unless you don’t mind it changing over time. Usually, a lamp is used for lighting, but it doesn’t really matter as long as you are satisfied with it.
Now determine what you will be taking the pictures on. Typically people use their phones for pictures but that would require a tripod or just something that helps the phone stay in one place. If you don’t want to buy something to hold up your phone I will have a video of ideas you can use instead linked below.
Having a specific app for your project is easier than using your camera roll but you can just use what’s easier for you. I personally think that Stop Motion Studio is a great choice. When you take the picture it gives you the option of having the last frame in place to help guide you. There’s also a Stop Motion Studio Pro if you want something more advanced, but it costs around $6. When using your camera roll, you need to have an editing app to put all the pictures together. Capcut is a very popular editing app that I recommend. It’s easy to use and offers lots of tools that make the process easy.
Making sure you have all the right materials and enough of them is something you should do before you start. After you are satisfied with your idea you will set up the device you are using to take the pictures from the angle you want to show. Angles are everything. If you get an angle with bad lighting that can really ruin the effect of your pictures. A video with examples of angles will be linked below to help you out!
To set everything up, make sure you are using a space you know you won’t need later on. I suggest setting up your camera angle first just so you know how everything will look from that angle. Then slowly put your background and characters in the frame.
Start off with taking 1 or 2 pictures of the starting position. I recommend taking 2 but it all depends on how fast you want the film to start. Then move the position of the character little by little till the full movement is created. You can choose to move the other characters/ background at the same time or move them one by one. These types of projects require lots of patience and time. Fun fact: It took about 4 years for 500 people to make the movie Coraline. It was estimated that 2.22 to 6.52 seconds of footage was produced every week. It is very unlikely that a short film will take that long. Coraline was full of amazing detail causing it to take so long.
After all the pictures are taken, editing is the next step. You can put credits in the end or beginning, whatever you prefer. You can leave your film how it is or use an editing app to change how long each frame takes. I think this last step is really helpful in making sure the film runs smoothly and that no frames last too long. I hope you enjoy your finished product but if you need extra support I will have various videos linked below for visual instructions.
Daisy is a freshman at Girls Academic Leadership Academy. She has been in journalism for 2 years and has the position of Jr. Learn Something Editor. ...


Kassidy H • Nov 2, 2022 at 4:53 pm
This is AMAZING!!! I love how you included the process! This is an amazing writing piece. Keep up the good work!