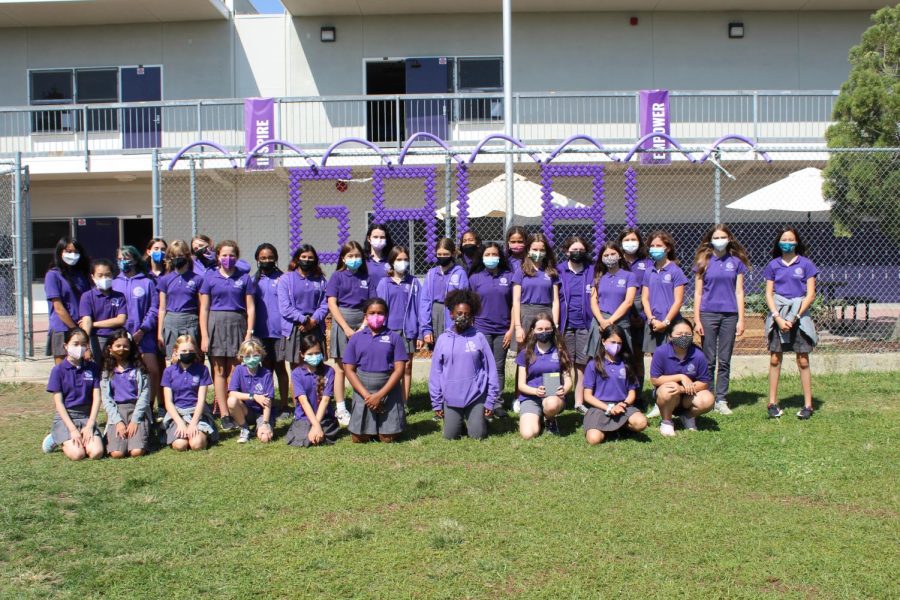


Cherry Blossom Origami for Spring!
Every year, come March, people flock to Japan to see the cherry blossoms that bloom across the county. The blooming of the cherry blossoms, or Sakura, symbolizes the end of winter and a time of renewal and optimism. Washington D.C. is also home to around 3,000 cherry blossom trees which were gifted from Japan in 1912 by Mayor Yukio Ozaki of Tokyo City.
However, both of these locations are far from LA, so not everyone can experience and celebrate the coming of spring beneath the pink petals. But, that doesn’t mean you can’t enjoy spring with some Sakura fun!
I learned this method of origami in 3rd grade, but there are many different ways to make origami cherry blossoms!
You will need one square of origami paper, a pen or pencil, and scissors to make your cherry blossom.
Fold the square of paper in half, hotdog style, to make a rectangle.
Fold the bottom right corner diagonally up to the top side and crease.
Unfold, and you should have a creased diagonal line.
Repeat the same steps from the top right corner to the bottom side.
You should have two creased lines, forming an X on the right half of your rectangle.
Fold the bottom left corner so that the point rests in the center of the X and crease.
Take the corner you just folded in and fold it back on itself. It should look like a weird ice cream cone.
Take the bottom right corner and fold upwards so that the edge aligns with the side of the weird cone to make what looks like an awkward heart.
Fold the entire shape in half so the ice cream part is in front and the other side is behind.
Take your pen or pencil, and sketch out the shape of your petal.
Use your scissors to cut out the shape of your petal, and discard the top part.
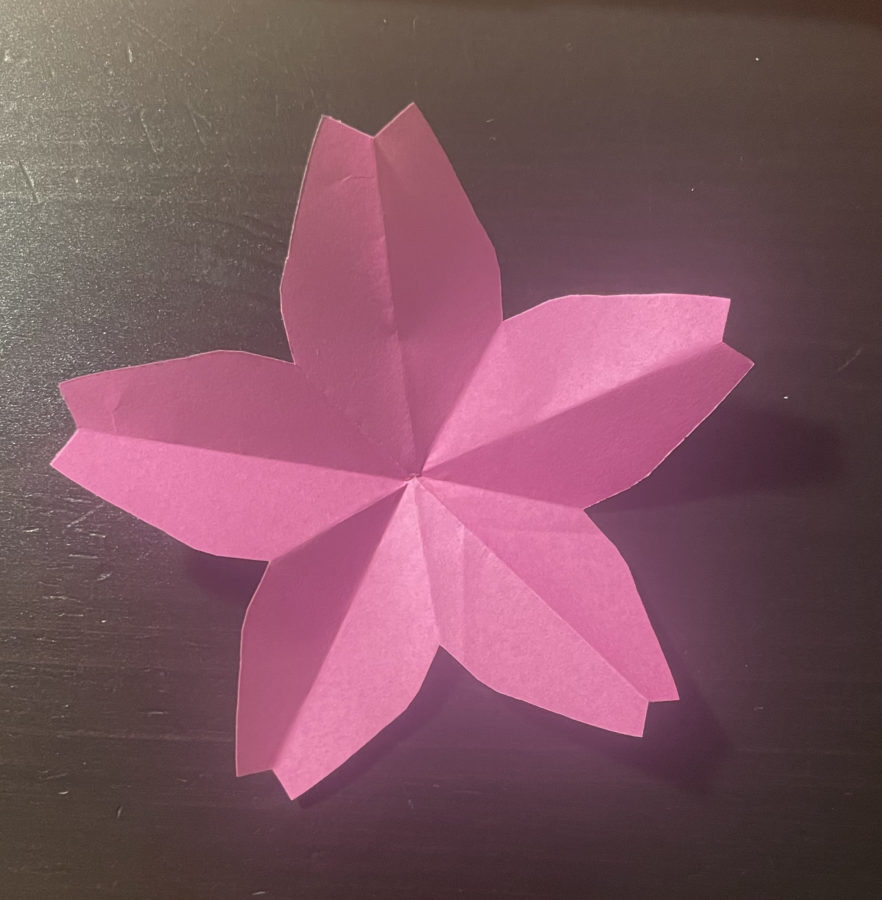
Unfold, and you have your cherry blossom!
I hope you enjoy making origami cherry blossoms and that you carry feelings of optimism and hope with you as we enter spring!
Hana is a sophomore at Girls Academic Leadership Academy, and she’s been a Goddess since sixth grade. This is her second year in the high school journalism...